Siding | Faze Construction Blog
Learn the best practices for vinyl siding installation in Fort Wayne, Indiana. Discover proper moisture protection, house wrap, flashing, expansion gaps, fastening methods, ventilation, and...
Call (260) 226-8800When homeowners think about siding replacement, most focus on one thing:
While appearance matters, what matters even more is how the siding is installed.
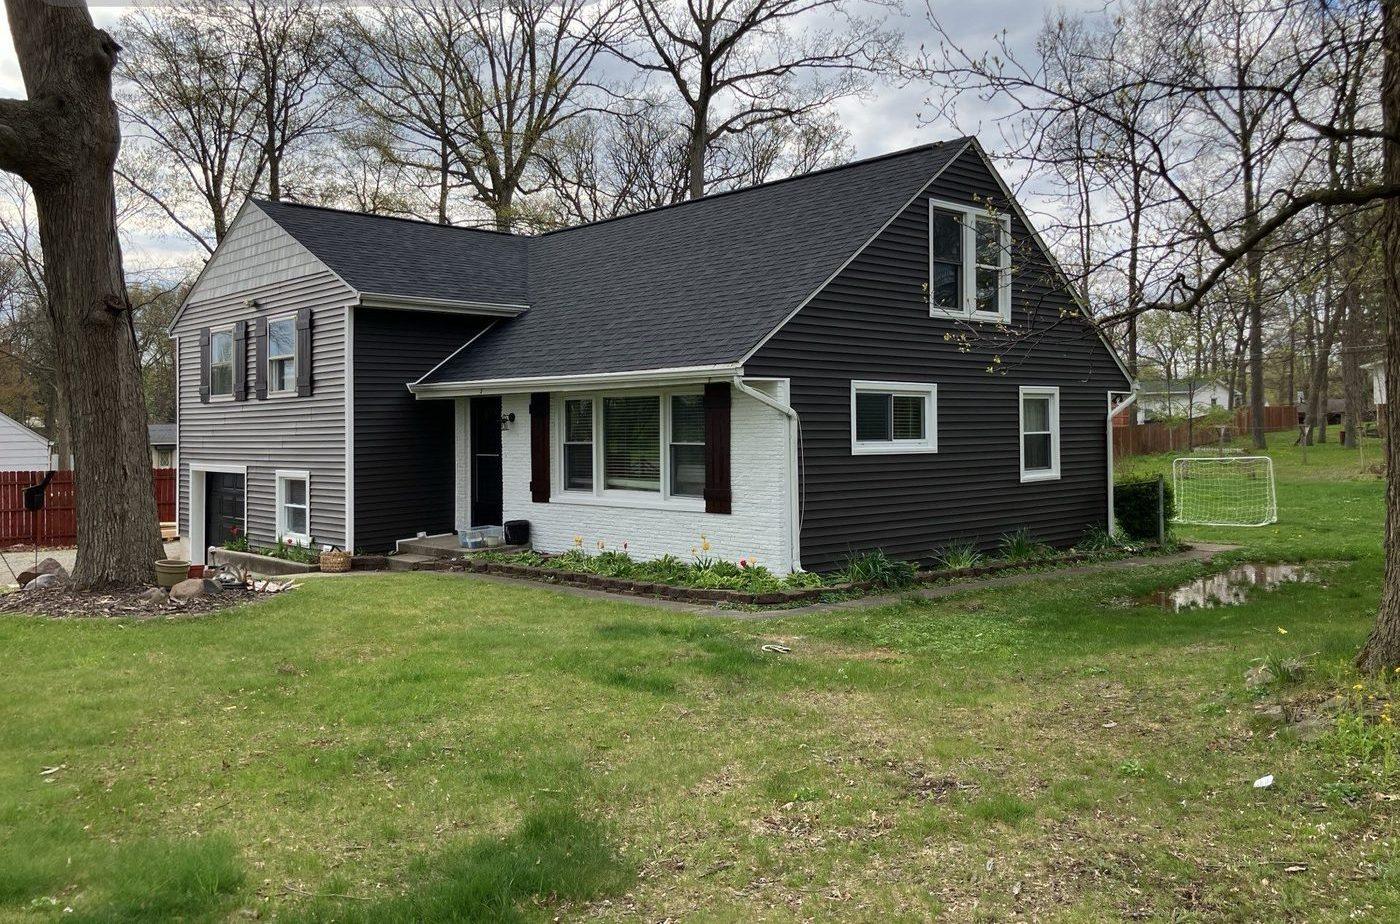
A siding system does much more than improve curb appeal.
It protects your home from:
At Faze Construction, we believe proper installation is what separates an average siding job from a great one.
Let's break down the best practices for vinyl siding installation in Fort Wayne, Indiana.
The best practice for siding replacement starts with a full tear-off.
This means removing all existing siding down to the substrate underneath.
This substrate is typically:
Whenever possible, full removal is preferred because it allows for a complete inspection of the wall system underneath.
This helps identify:
OSB is typically preferred because it offers better nail retention over time compared to blackboard.
Strong substrate means better long-term siding performance.
After the substrate is inspected and repaired, the next step is installing a moisture barrier.
This is commonly called house wrap.
House wrap is installed across all wall surfaces and serves as a protective barrier against moisture intrusion.
Its job is to:
This creates a major layer of protection behind the siding.
Window areas are one of the most common failure points in siding systems.
That's why proper flashing is critical.
After house wrap is installed, window openings are cut out and flashing tape is applied around the window openings.
Best practice includes:
Flashing tape should be installed to ensure water is redirected outward rather than trapped behind the siding.
This is one of the most important waterproofing steps in the installation process.
Before installing siding panels, all accessory components should be installed first.
This includes:
The starter strip is what locks in the first row of siding and helps establish straight installation.
Starting with properly aligned accessories creates cleaner, stronger installation throughout the project.
Once the prep work is complete, siding panels can be installed.
Best practice is to stagger siding seams to create a cleaner appearance and improve overall performance.
Common stagger methods include:
Proper staggering improves:
This helps create a more professional finished product.
This is one of the most important parts of vinyl siding installation.
Vinyl expands and contracts as temperatures change.
In Fort Wayne, homes experience:
Because of this, siding should never be nailed tightly to the wall.
Best practice is leaving approximately 1/4-inch clearance between the nail head and the siding.
This allows room for:
Without proper spacing, siding can:
Proper fastening prevents these issues.
J-channel is the trim installed around:
These areas need special attention.
Best practice is to miter corners whenever possible.
Mitering means interlocking corners cleanly to improve:
Properly installed J-channel creates a cleaner and more watertight finish.
Flashing is essential in siding systems.
Its purpose is simple: Move water out.
Critical flashing points include:
Drip cap flashing is installed above windows to direct water away.
If water gets behind the siding, the system should work in layers:
This layered system protects the home.
Flashing around doors and deck connections is equally important.
These areas are common leak points if not handled correctly.
Caulking and silicone play an important role in siding installation.
They should be used at critical seal points to prevent water intrusion.
Common areas include:
Proper sealing helps improve water resistance and long-term performance.
This is often overlooked.
Vinyl siding is designed to breathe.
It sheds water and allows moisture to escape through built-in weep holes.
These weep holes must remain open and unobstructed.
Blocking them can trap moisture behind the siding and lead to:
Keeping them clear is essential for the long-term health of the siding system.
Many homeowners compare siding products.
But product is only part of the equation.
The truth is:
Even the best siding product will fail if installed incorrectly.
Proper installation protects against:
That's why choosing the right contractor matters.
At Faze Construction, we don't just install siding.
We install complete exterior systems designed for long-term performance and protection.
Our team focuses on:
If you're considering siding replacement in Fort Wayne, Indiana, our team is here to help.
Contact Faze Construction today for a professional siding inspection and learn how to protect your home with a properly installed siding system.
How tight should vinyl siding be on my home?
Vinyl siding is a popular choice for homes in Indiana due to its durability and ability to withstand various weather conditions. However, the way it's installed plays a big role in how well it performs over time. One common question homeowners have is, "How tight should vinyl siding be on my home?" Let's dive into the key points to help you understand why this matters and how to make sure your siding is installed correctly.
Vinyl siding isn't meant to be tightly nailed or fastened to your home's exterior. In fact, it needs a bit of room to "breathe" because it expands and contracts with temperature changes. If it's fastened too tightly, the siding can't move properly, leading to issues like buckling, warping, or even cracking over time. That's why getting the installation right is so important for the long-term health of your home's exterior.
How Tight is Too Tight?
A general rule to follow is that vinyl siding should be able to move slightly when you touch it. You should be able to shift the siding panels a bit from side to side, usually about 1/4 to 1/2 inch horizontally. This small amount of wiggle room allows the siding to expand during hot Indiana summers and contract when temperatures drop in the winter.
If your siding feels rigid with no movement, it might have been nailed too tightly. This can cause the panels to buckle or ripple, especially during extreme temperature changes. Conversely, if the siding feels loose or is pulling away from your home, it may not have been secured properly.
When vinyl siding is installed, nails or screws should be placed in the center of the nailing slots to allow for movement. It's crucial that these fasteners are driven in snugly but not too tight against the panel. The fasteners should leave about a 1/32 inch gap (about the thickness of a dime) between the nail head and the siding. This small gap ensures the siding can move without becoming warped or damaged.
Additionally, proper spacing between fasteners is important. For horizontal siding, nails should be placed about 16 inches apart, and for vertical panels, spacing can be between 8 and 12 inches.
If you're concerned that your vinyl siding was installed too tightly, there are a few signs to look out for:
Over time, improperly fastened vinyl siding can lead to several problems. When the panels buckle or warp, they create gaps that allow water to seep in, leading to moisture damage. If left unaddressed, this can cause mold growth or even structural damage to your home.
Loose or warped panels also become a target for pests, providing entry points for insects that could damage your home's structure. Additionally, siding that doesn't allow for expansion and contraction will wear down faster, leading to costly repairs or replacement much sooner than necessary.
Related service: Siding in Fort Wayne | See your price range on the Pricing page
While appearance matters, what matters even more is how the siding is installed.
Over time, improperly fastened vinyl siding can lead to several problems. When the panels buckle or warp, they create gaps that allow water to seep in, leading to moisture damage.
Vinyl siding is a popular choice for homes in Indiana due to its durability and ability to withstand various weather conditions.
4.9 stars from 257 Google reviews. Here is what Fort Wayne homeowners said in their own words.
“Faze inspected my roof and found storm/hail damage and was able to work with my insurance company to get new roof installation. Faze worked for my benefit and provided excellent service. Faze went the extra mile every step of the process and ensured that I was informed and answered any questions that I had along the way. I would recommend them to my closest friends and family!”
Richard Short
“Faze Roofing and Construction came out and gave us an inspection and quote the same day. They were out the next week right before Thanksgiving and had the roof completed within a day. Super happy with the professionalism and work that was done. Their pricing was super competitive! We look forward to using them for our Christmas lights this winter and in the future!”
Maegen Barbour
Tell us about your home and your project. The form takes about two minutes, and a Faze team member follows up to confirm your inspection time.

Your inspector takes photos of what they find, walks you through them, and leaves you with a written quote. You decide what happens next.
★ 4.9, 257 Google reviews
See your price range in about a minute, then book a free inspection and get your exact written quote.